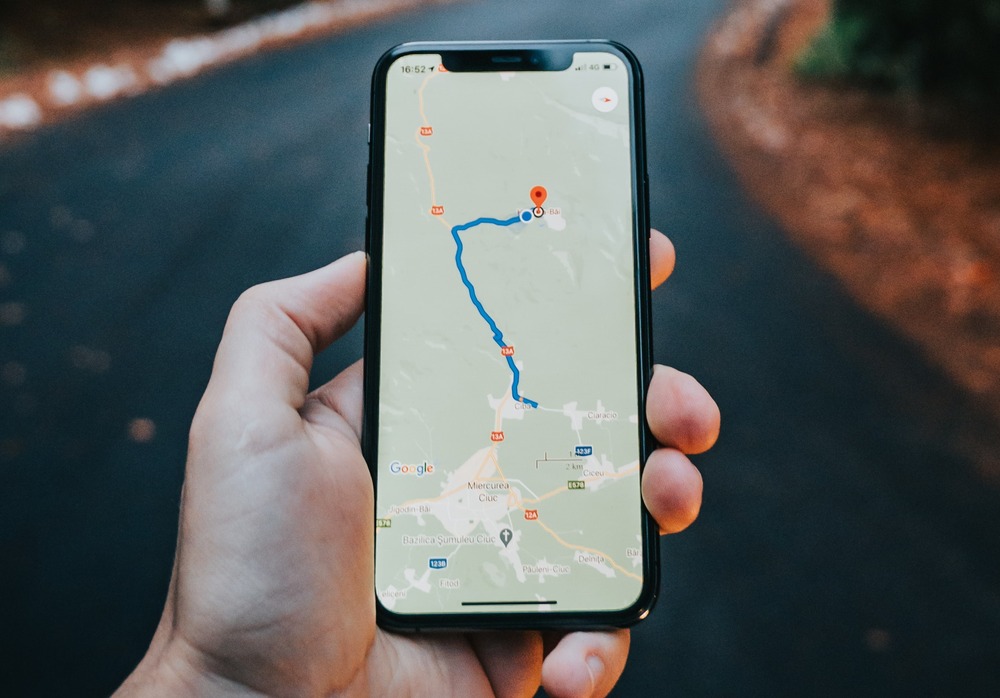
Creating a Custom Map in Google Maps for Your Trip
Blue Planit - November 3, 2022
If you're planning a vacation or even just trying to plot locations on a map to keep track of places you want to visit, Google Maps, specifically the Google My Maps platform is a completely free and great way to visually organize that information. You can create custom maps to be easily viewed on your mobile phone. While traveling, you can use the map to know exactly where interesting things are located relative to your current location. Ready to learn how to create these custom maps? Read on to learn more.
Create a blank map
As of the writing of this article, creating and editing your custom map must be done on a computer browser and can't be done on your mobile phone. You will always be able to view your map on your phone though. First, go to the Google My Maps website. You will need to have a Google account to save your map so please log in to do so.
In this article, we'll be planning a fictitious weekend trip to Orlando, Fl. We'll track our places to stay, see, eat, and more. Click on "Create a New Map" to start.
Add places of interest on the map
Next, click the "Add layer" button on the top left. A layer is just a set of things on the map that are grouped together. For our trip, we'll treat each day of our trip as a single layer starting on Thursday and ending on Sunday. Rename this first layer to "Thursday" by click on the "Untitled Layer" text.

We've done some research on places to stay and decided on "Universal Studio's Endless Summer resort". Let's add that location to the map so we know where it is. You can do so by simply typing in the search bar "Universal Studio's Endless Summer Resort" and then when the location pops up, click "Add to map".

Now, the resort is added to our "Thursday" layer. You can change the style of the pin on the map by clicking on the location and then clicking on the paint bucket icon. I changed to icon to a house icon to show that it's lodging and the color to purple.

You can repeat this process for all the things you find when doing your research, whether they're in your itinerary or not. Plotting places on the map will help you understand how things are situated relative to each other. On Thursday, I'm going add a few candidate places I'd like to eat and maybe a place to go shopping as well. Notice how all the markers are purple. This way I can easily see that it is associated with Thursday on my itinerary.

_______________________
Google Sheets, meet Google Maps
7-day free trial, learn more here!
_______________________
Here is how my map looks with all the layers with each one corresponding to a different day in the trip itinerary.
Deleting pins on the map
If you want to remove locations on the map, all you have to do is click the pin directly on the map or click the location in your layer and then click the trash can icon in the popup.

Add direction layers
If you need to see directions from one place to another, which is very helpful on a road trip, Google My Maps has you covered here too. To do that, click on a pin on the map and then click the route icon. It looks like this:

Now you can see what the routes look like going from one location to another and, you can add as many stops as you want.
With the directions layer, you can also view the step-by-step directions by clicking the three vertical dots icon in the layer and then selecting "Step-by-step directions".

View the map on your phone
Once you are done planning or plotting all the interesting locations in your custom map, viewing it on your phone is very easy. First, you need to have the Google Maps app already installed and make sure you are logged into the account that you created your map with.
Open up the app then click on the "Saved" icon at the bottom navigation bar. Once you're in that view scroll all the way done and click the "Maps" icon at the bottom right.
Now, you will see a list of the custom maps you've made with the Google My Maps tool. Just select the map you want to view.

Importing places to your map
Google My Maps supports importing a CSV file that, when properly formatted, automatically plots all those locations on the map. This may be useful to you if you've collected a bunch of points of interest in say in your Google Sheets and wanted to then plot them on a map.
There is some formatting of the data involved but luckily, there's a Google Sheets add-on that automatically does that for you. Enter Travel Mapper. It is a Google Sheets add-on that helps travelers organize and plan their road trip, vacation getaway, or backpacking experience. It includes automatically populating all the location information like address, website link, etc., helps you budget, allows you to rearrange your itinerary with a Kanban board, and of course, automatically import the trip into Google My Maps with no hassle. The add-on automatically separates the layers into days and color codes them too. That way, you don't need to color code anything manually.

Try it out by installing the add-on from the Google Workspace Marketplace here.

